
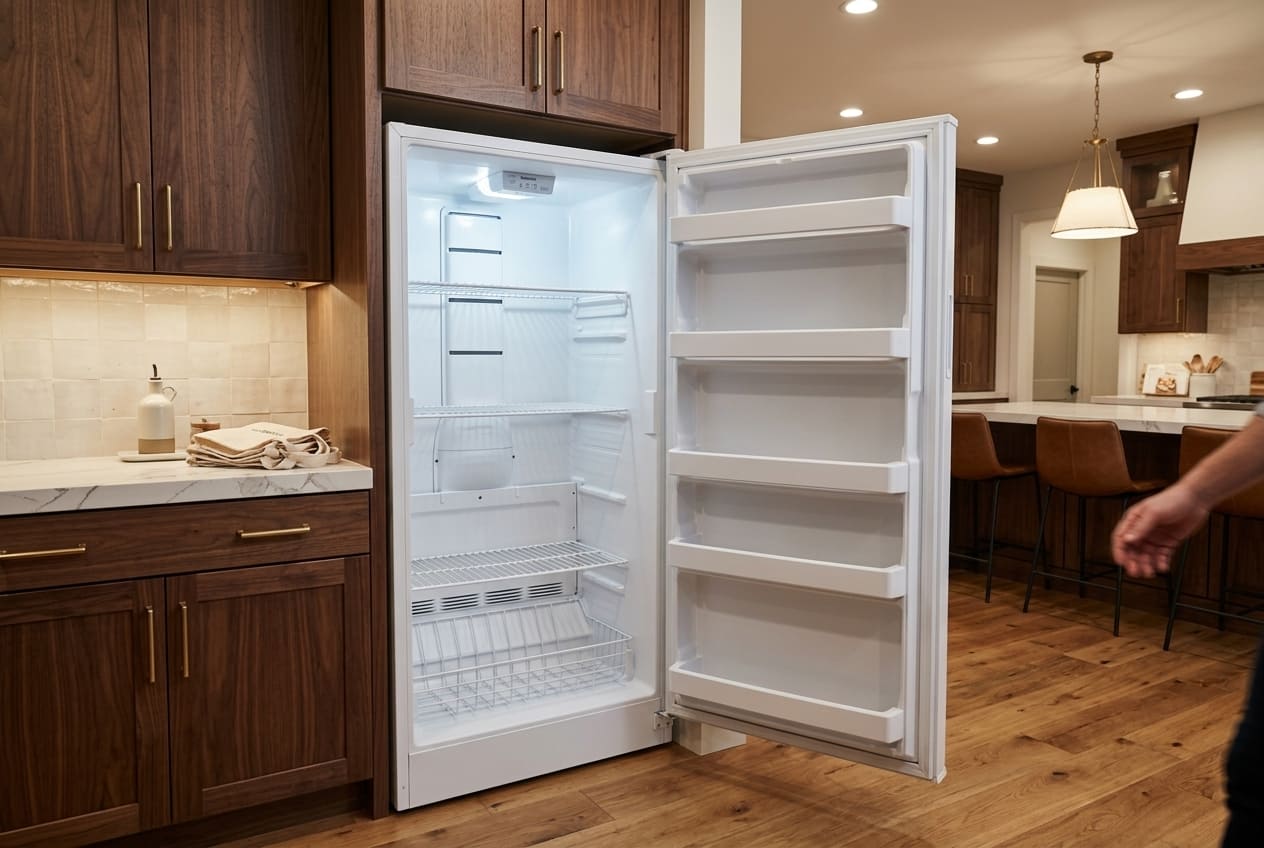
A freezer door that won’t seal isn’t just annoying — it’s expensive. Every hour that warm air sneaks in, your compressor works harder, your energy bill climbs, and the food you paid for moves closer to the trash. For Maytag upright and chest freezer owners, a failing door seal is one of the most common — and most overlooked — problems that quietly drains money in the background.
Here’s what makes this tricky: an upright freezer door and a chest freezer lid don’t seal the same way. The mechanics are different, the failure modes are different, and the fixes are different. Treating them the same is how people waste time and money on the wrong solution.
This guide breaks down the 6 most common reasons a Maytag freezer stops sealing properly — for both upright and chest models — with clear, actionable fixes for each. Some of these you can handle yourself in under 15 minutes. Others are a job for a technician, and we’ll tell you exactly where that line is.
What’s at stake: energy efficiency, food safety, and the lifespan of your compressor. All three depend on a door that closes the way it’s supposed to.
How a Freezer Door Seal Works — Upright vs. Chest Models
Before you start troubleshooting, it helps to understand what a properly working seal actually looks like — because the two freezer types use completely different systems.
Magnetic Gasket Design in Upright Freezers
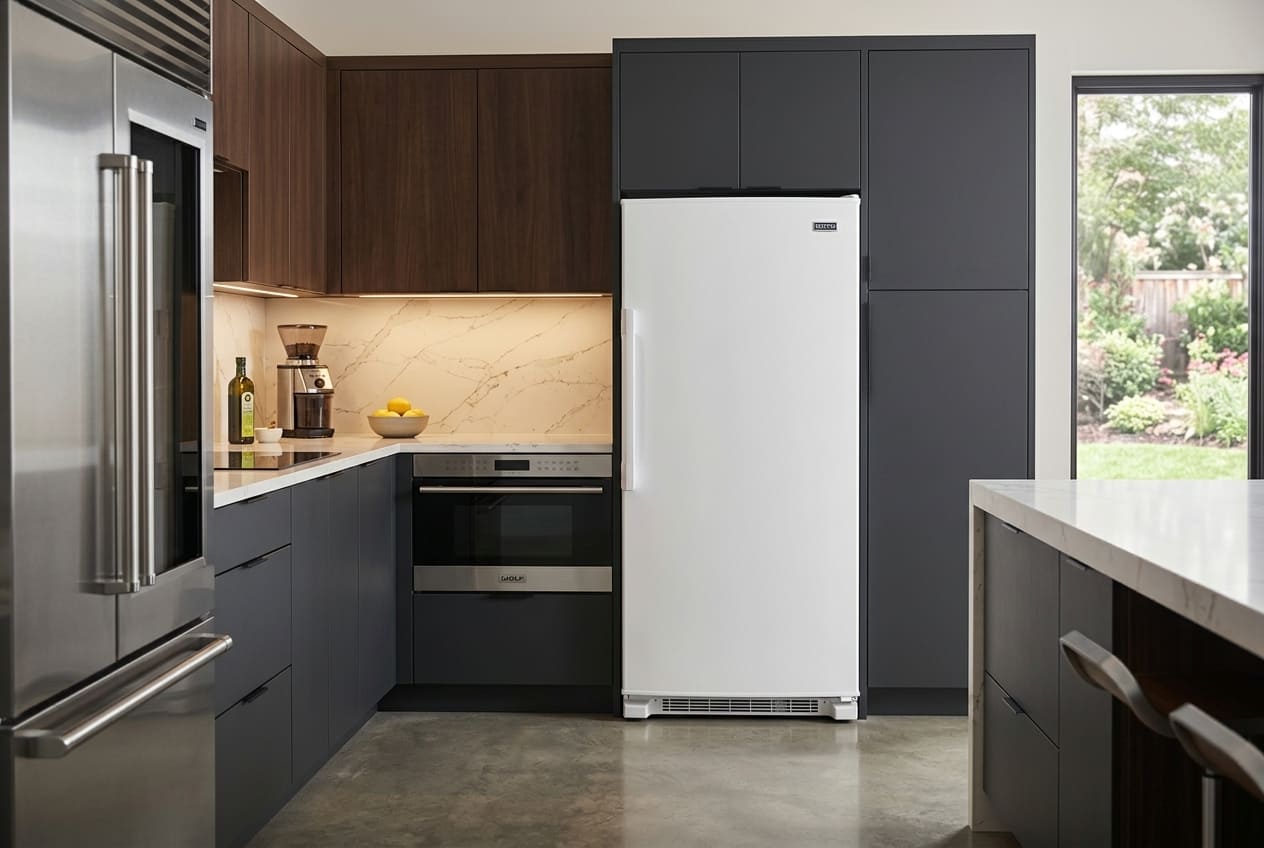
Maytag upright freezers — including the MZF34X16DW, MZF34X20DW, and MZF34X18FW — use a door gasket with an embedded magnetic strip. When the door closes, that magnet pulls the rubber profile flush against the steel frame, creating an airtight seal around the entire perimeter.
How it works in practice:
- The magnetic strip attracts to the metal door frame.
- The rubber compresses slightly to fill any micro-gaps.
- No mechanical latch is needed — the magnet does the work.
The weak point: magnets lose strength over time, and rubber loses flexibility. A door that looks closed can still be leaking air if either of those has degraded.
Compression Seal Design in Chest Freezers
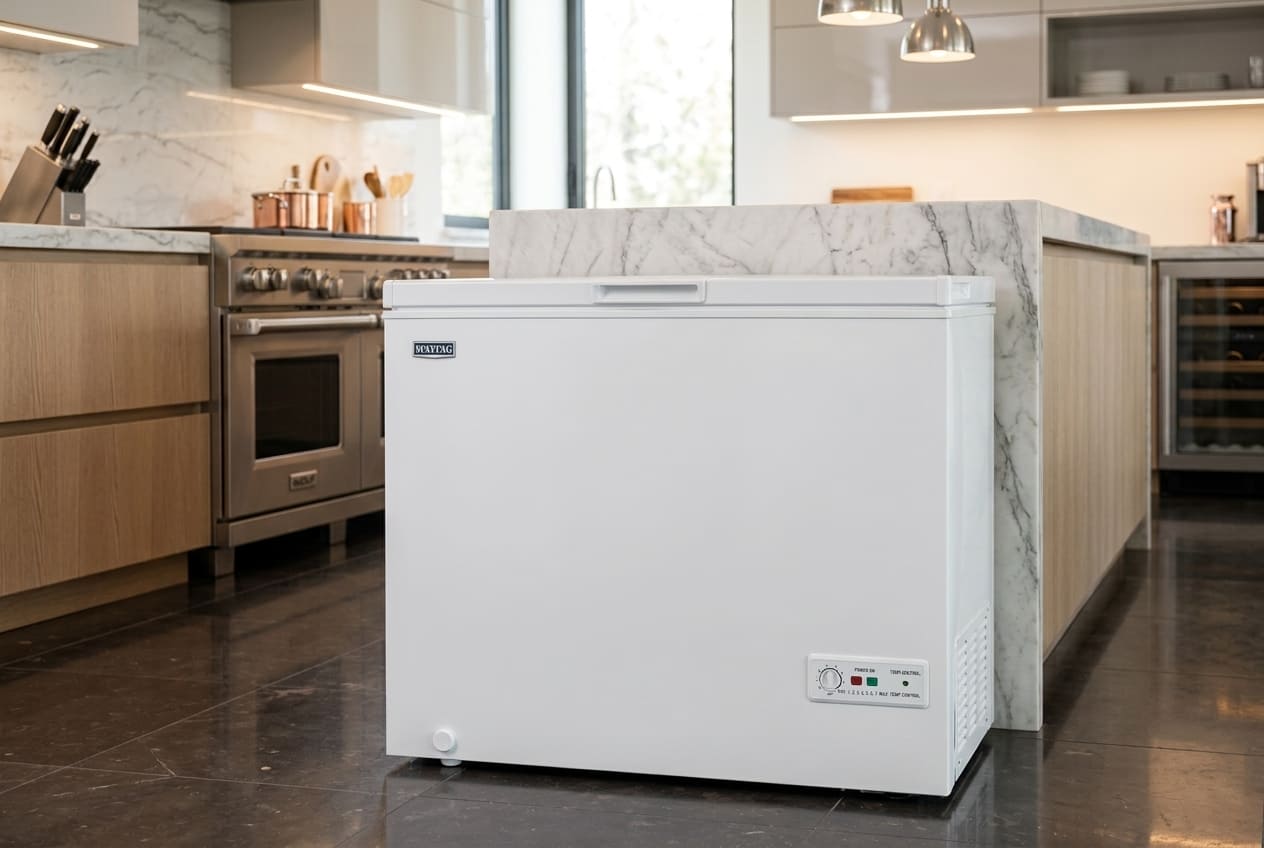
Maytag chest freezer models — MZC5216LW and MZCC4316TG — work on a completely different principle. The lid’s own weight presses the gasket down against the rim of the cabinet. It’s a gravity-assisted compression seal, with no magnetic component.
Key differences from upright models:
- Seal quality depends entirely on lid weight, gasket softness, and rim flatness.
Any lid warp, rim damage, or gasket hardening breaks the seal immediately.
Failure patterns are different — and so are the fixes.
Understanding which system your Maytag uses is step one. Everything else follows from there.
6 Common Reasons Your Maytag Freezer Door Won't Seal
1. Dirty or Sticky Gasket
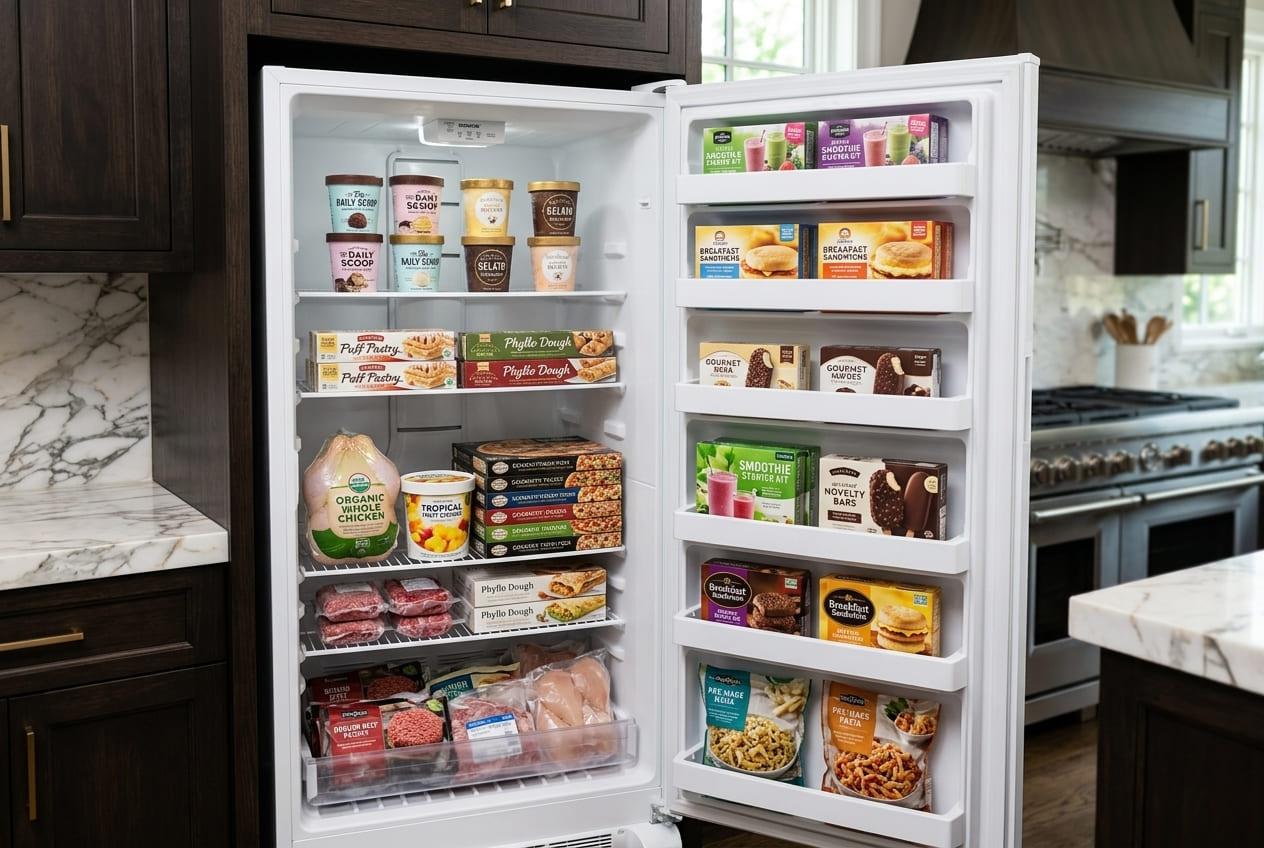
It sounds too simple, but a dirty gasket is the number one cause of seal failure — and the most frequently missed. Grease, food residue, spilled liquids, and dust build up on the gasket surface over time and prevent clean contact between the rubber and the frame. The lower corners and the area around the hinges are the worst offenders.
How to check: Run your finger along the inner surface of the gasket. If it feels tacky, looks discolored, or has visible buildup — that’s your problem.
Fix:
- Wipe down the entire gasket with warm water and a small amount of dish soap.
- Use a soft toothbrush to get into the folds and grooves.
- Dry completely before closing the door — moisture left behind can cause the gasket to stick to the frame.
- Avoid bleach or harsh cleaners — they degrade rubber over time.
2. Warped, Twisted, or Kinked Gasket
Gaskets deform. It happens when a door is left open for extended periods, when items inside press against the gasket, or simply from years of use. Even a small warp in one section of the profile is enough to break the seal at that point.
Signs of deformation:
- Visible waves, folds, or flat spots on the gasket profile.
- The gasket doesn’t sit flush against the frame in certain areas.
- The door closes but there’s a noticeable gap in one corner.
DIY reshaping method:
- Apply low heat from a hair dryer to the deformed section — 30 to 40 seconds at a time.
- Gently work the gasket back into shape with your hands while it’s warm.
- Close the door and leave it shut for 15–20 minutes so the rubber sets in the correct position.
If the gasket is cracked, torn, or won’t hold its shape after heating — reshaping won’t cut it. Replacement is the only real fix.
3. Freezer Not Level
An unlevel freezer is a surprisingly common cause of door seal problems — and one that most people don’t think to check. If an upright model tilts forward even slightly, the door will drift away from the frame under its own weight and never fully seat against the gasket.
Correct positioning for upright models (MZF34X16DW, MZF34X20DW, MZF34X18FW):
- Front leveling legs should sit slightly higher than the rear.
- This creates a slight backward tilt so the door naturally swings closed on its own.
For chest freezer models (MZC5216LW, MZCC4316TG):
- The floor surface needs to be flat and level.
- Any tilt throws off the even compression of the lid against the rim.
- Use shims under the feet if the floor is uneven.
Tool needed: a standard bubble level. Adjust the leveling legs by turning clockwise to raise, counterclockwise to lower.
4. Worn or Damaged Door Hinges and Cams
Upright Freezer Door Hinges
Maytag upright freezers use door cams — small plastic components at the top and bottom hinges that control how the door sits and swings. When these wear down, the door sags. We’re talking fractions of an inch, but that’s enough to pull the gasket away from the frame along one entire side.
Symptoms to look for:
- The door hangs unevenly — bottom corner kicks outward.
- Uneven gap between the door and the cabinet when closed.
- Door doesn’t “catch” when you push it shut.
Chest Freezer Lid Hinges
Chest freezer models use counterbalance hinges with a spring mechanism that holds the lid open and controls how it closes. When the spring weakens or the hinge bends, the lid won’t drop fully onto the rim — and the compression seal never engages properly.
Hinge replacement on either model type is a job for a technician. An incorrectly installed hinge creates a new alignment problem on top of the old one.
5. Frost Buildup Interfering with the Seal
Frost and ice along the door frame or chest freezer rim is both a symptom and a cause. The ice ridge physically prevents the gasket from making full contact with the frame — and because the seal is broken, warm air keeps coming in, making the frost worse.
In frost-free upright freezers:
- Frost along the door frame usually points to a defrost system failure — the heating element, defrost thermostat, or defrost timer isn’t completing its cycle.
- Simply scraping the ice off won’t solve anything if the defrost system is the root cause.
In manual-defrost chest freezers:
- Ice builds up along the rim when defrost cycles are infrequent or the lid is opened often.
- Full manual defrost is required, followed by identifying why the buildup is happening.
Removing the ice is a temporary fix. Without addressing the underlying cause, it comes back within one to two weeks.
6. Gasket Needs Replacement
Rubber gaskets don’t last forever. The average service life is 7 to 12 years under normal use. After that, the material loses elasticity permanently — no amount of cleaning, heating, or reshaping will restore it.
Clear signs it’s time to replace:
Sign | What It Means |
Visible cracks or tears in the rubber | Physical breakdown — replacement required |
Gasket feels hard and brittle | Elasticity gone, seal is compromised |
Dollar-bill test fails at multiple points | Magnetic strip weakened or profile deformed |
Persistent frost along the door perimeter | Gasket no longer holding an airtight seal |
Visible gaps with the door fully closed | Profile no longer conforms to the frame |
The Dollar-Bill Test — Check Your Freezer Seal in 2 Minutes
This is the standard field test that appliance technicians use. No tools required — just a paper bill or a sheet of cardstock.
Step-by-step:
- Place a dollar bill between the gasket and the freezer frame.
- Close the door or lid normally — don’t force it.
- Try to pull the bill out with a steady, even pull.
What the result tells you:
- Bill won’t budge or pulls out with clear resistance → seal is working at that point.
Bill slides out with little effort → air is leaking at that location.
Bill falls out on its own → significant seal failure.
Don’t stop at one spot. Test the full perimeter — top, bottom, both sides, and all four corners. A gasket can be perfectly fine along three sides and completely failed in one corner. That one corner is enough to cause frost buildup and compressor strain.
If the bill slides freely at two or more points after the gasket has been cleaned — you’re looking at replacement, not a quick fix.
When a Gasket Replacement Is Your Best Option
Cleaning and reshaping are first-response measures. They work when the gasket is fundamentally intact but dirty or mildly deformed. When the material itself has broken down, those measures are just delaying the inevitable.
Replacement is the right call when:
- The gasket has visible cracks, tears, or separation from the door.
The rubber is hard and no longer springs back when pressed. - The dollar-bill test fails at multiple points even after thorough cleaning.
The gasket is over 10 years old. - The magnetic strip inside the profile has lost its pull.
Genuine vs. Aftermarket Gaskets — What to Know
(Original Maytag parts):
- Engineered to the exact dimensions of your specific model.
- Guaranteed fit with no gaps or pressure points.
- Higher upfront cost, but predictable outcome.
Aftermarket gaskets:
- Typically 30–50% cheaper.
- Fit can vary — even a 1–2mm size difference creates air gaps.
- Material quality is inconsistent across suppliers.
For models like the MZF34X16DW, MZF34X20DW, and MZC5216LW, using manufacturer-EPA-certified parts is the safer choice. A gasket that almost fits is a gasket that doesn’t seal.
Why Professional Installation Matters
Swapping a gasket looks straightforward — pull the old one out of the channel, press the new one in. In practice, the profile has to seat evenly with no tension, no bunching at the corners, and no gaps anywhere along the run. A gasket that’s slightly off in one section creates a new leak point that won’t show up until you run the dollar-bill test.
If the sealed refrigerant system was compromised during any prior repair, all work on that system must be performed by an EPA-certified technician.
Preventing Future Door Seal Problems on Your Maytag Freezer
Ten minutes of maintenance per month is worth more than a service call. Here’s what actually makes a difference.
Maintenance Tips for Upright Freezers
- Monthly: Wipe down the gasket with warm soapy water — pay extra attention to the lower corners and hinge areas where grease accumulates.
- Every 3–4 months: Apply a thin coat of petroleum jelly to the gasket surface — it keeps the rubber supple and prevents it from sticking to the frame.
- Ongoing: Don’t overload the door shelves — heavy items stress the hinges and gradually pull the door out of alignment.
- Annually: Check the leveling and readjust the front legs if needed
Maintenance Tips for Chest Freezers
- Every defrost cycle: Wipe the rim and gasket completely dry before closing the lid — moisture left on the rim accelerates ice buildup.
- Always: Make sure nothing is sticking up above the rim line — even a small item can hold the lid open just enough to break the seal.
- Periodically: Check the hinge tension — the lid should open smoothly and stay open without slamming; if it drops too fast or won’t stay up, the spring mechanism needs attention.
- Avoid: Setting heavy objects on top of the lid — over time, this warps the lid structure and compromises the compression seal
Conclusion
A Maytag freezer door that won’t seal is a common problem — and in most cases, a fixable one. The six causes we covered run the full range from a five-minute cleaning job to a part replacement that’s better left to a professional:
- Dirty or sticky gasket
- Warped or deformed gasket profile
- Freezer not sitting level
- Worn door hinges or cams
- Frost buildup blocking the seal
- Gasket at end of its service life
The dollar-bill test takes two minutes and tells you exactly where the problem is. From there, the fix is usually clear. Catch it early — before the compressor starts running around the clock — and you’re looking at a minor repair. Let it go, and the costs compound quickly.
If your Maytag freezer door is still not sealing after working through these steps, don’t guess — get a professional diagnosis. Appliance Repair Master is available for Maytag freezer repair in Atlanta and across Georgia.
FAQ
1. Why does my Maytag freezer keep building up frost around the door?
Frost around the door perimeter is almost always a sign of air infiltration — warm, humid air is getting in and freezing on contact with the cold surfaces inside. The most common culprits: a worn or dirty gasket, a door that’s slightly out of alignment, or simply opening the freezer too frequently in a humid environment.
On frost-free upright models, there’s an additional possibility: the automatic defrost system isn’t completing its cycle. If the defrost heater, defrost thermostat, or timer has failed, frost accumulates regardless of gasket condition. In that case, the frost pattern will typically appear on the evaporator coils first, then spread to the door area.
2. ow do I know if my Maytag upright freezer door is misaligned?
A few things to look for:
- The gap between the door and the cabinet is wider at the bottom than the top (or vice versa).
- The door swings open on its own when you let go — or won’t stay closed without being pushed firmly.
- The bottom corner of the door visibly kicks outward when closed.
- The dollar-bill test fails consistently on one side but not the other.
Start by checking the leveling — front legs slightly higher than rear. If that doesn’t fix it, the door cams at the hinges are the next thing to inspect.
3. What happens if I ignore a Maytag freezer door that isn't sealing?
The consequences stack up fast:
- Compressor runs continuously trying to compensate for the warm air coming in → energy bills increase noticeably.
- Compressor wears out prematurely from the constant workload → repair or replacement costs in the hundreds to thousands.
Internal temperature fluctuates → food goes through partial thaw and refreeze cycles → texture and quality degrade, and food safety becomes a real concern.
Frost accumulates along the door frame and on the evaporator → airflow is restricted → cooling efficiency drops further.
4. My Maytag chest freezer lid closes but pops back open slightly. What's wrong?
Three likely causes: the counterbalance hinge spring has weakened and no longer holds the lid fully down, the lid itself has warped slightly (common if heavy items were stored on top), or there’s an ice ridge along the rim that’s physically preventing full closure. Start by inspecting the rim for ice buildup and defrosting if needed. If the rim is clear and the lid still bounces back, the hinge mechanism needs to be checked.
5. My Maytag freezer gasket looks fine but the dollar-bill test fails. What else could it be?
A few possibilities worth checking:
- The magnetic strip inside the gasket may have lost its strength — the rubber looks intact, but there’s no pull keeping it against the frame
- The door or lid may be slightly warped — check it with a straightedge across the face
- The cabinet frame itself could have a small dent or deformation where the gasket is supposed to contact it — run your hand along the metal rim and feel for any irregularities
- Hinge wear — even minor door sag that’s invisible to the eye will show up on the dollar-bill test along the hinge side