
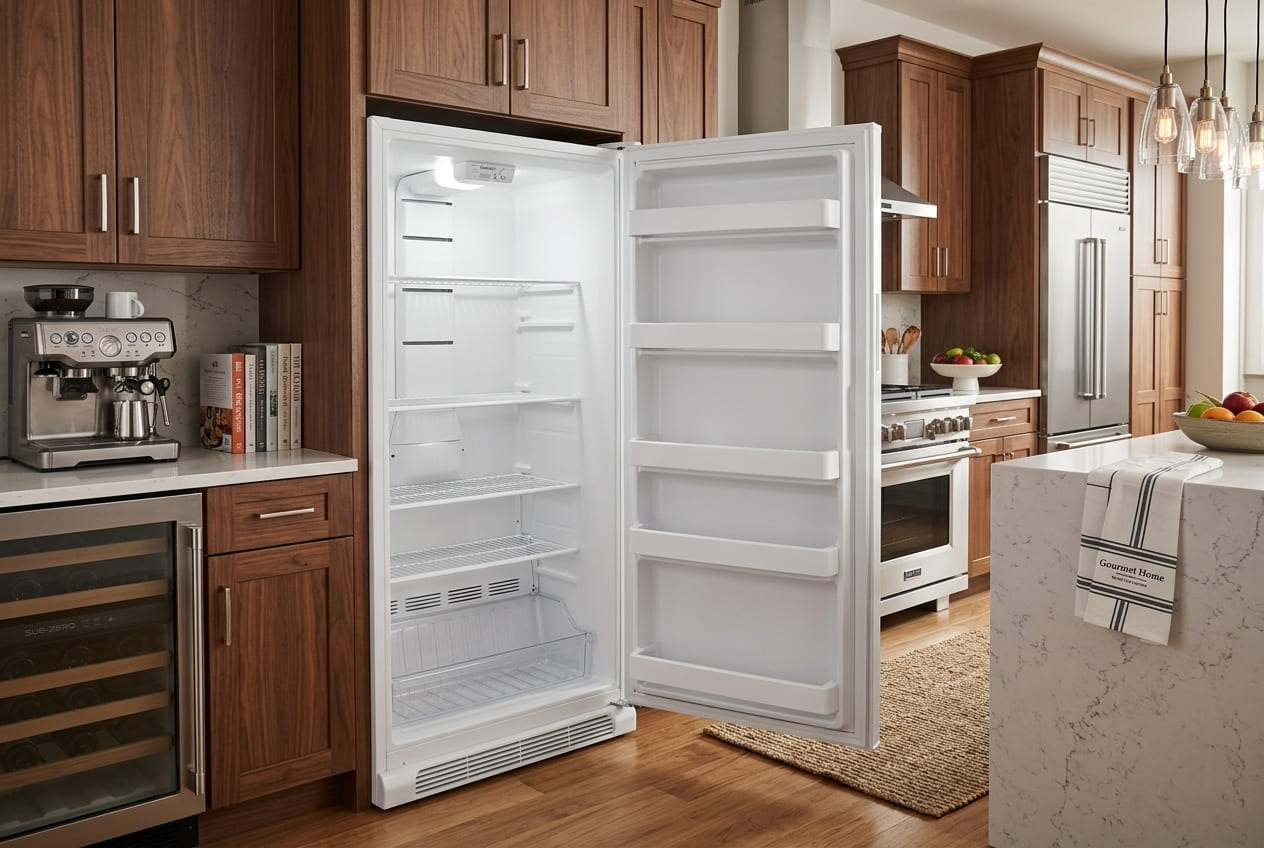
The door closes. The light goes off. The freezer runs. Everything looks normal from the outside.
But here’s the thing about a Maytag freezer door not sealing properly: it rarely announces itself. There’s no alarm, no error code, no sudden silence. What happens instead is gradual. The compressor runs a little longer each week. A thin line of frost builds along the door frame. The interior stays a few degrees warmer than the dial says it should. By the time the problem is obvious — food starting to soften, ice cream losing its edges — the compressor has been working overtime for months.
That’s the real cost of a compromised seal. Not the repair itself, but everything that happens before you know you need one.
This article covers single-door Maytag upright Freezers and top-lid Maytag chest Freezers only — models in the MZF series like the MZF34X18FW and MZF34X20DW, and chest models like the MZC5216LW and MZCC4316TG. No refrigerator-Freezer combinations, no drawer-style units. The diagnostic steps below are specific to standalone Freezer configurations.
Whether the cause is a worn door gasket, an unlevel cabinet, or something simpler than either of those, this guide tells you what to check first, what you can handle yourself, and where a professional repair makes the difference.
Test the Seal Before Anything Else
Diagnosing a door seal problem takes about three minutes and two tools: a dollar bill and your eyes. Starting here keeps you from ordering parts you don’t need or scheduling a service call for a problem you could fix in an afternoon.
The Dollar Bill Test — Upright Freezers
Close the Freezer door on a folded dollar bill at one edge of the door. Pull it out. If it slides free without resistance, the door gasket isn’t making adequate contact at that point.
Test at all four positions: top center, bottom center, hinge side, and latch side. Write down or remember which positions fail.
What the pattern tells you:
- One position fails, others hold — localized problem. A crack, a piece of sticky debris holding that section away from the frame, or minor gasket deformation from something pressing against the door from inside.
- Latch side fails, hinge side holds — the door may be misaligned, hanging slightly forward on one side. Check leveling before anything else.
- All four positions fail — the gasket has aged past elasticity, or the door alignment is far enough off that the gasket can’t compensate.
The Lid Test — Chest Freezers
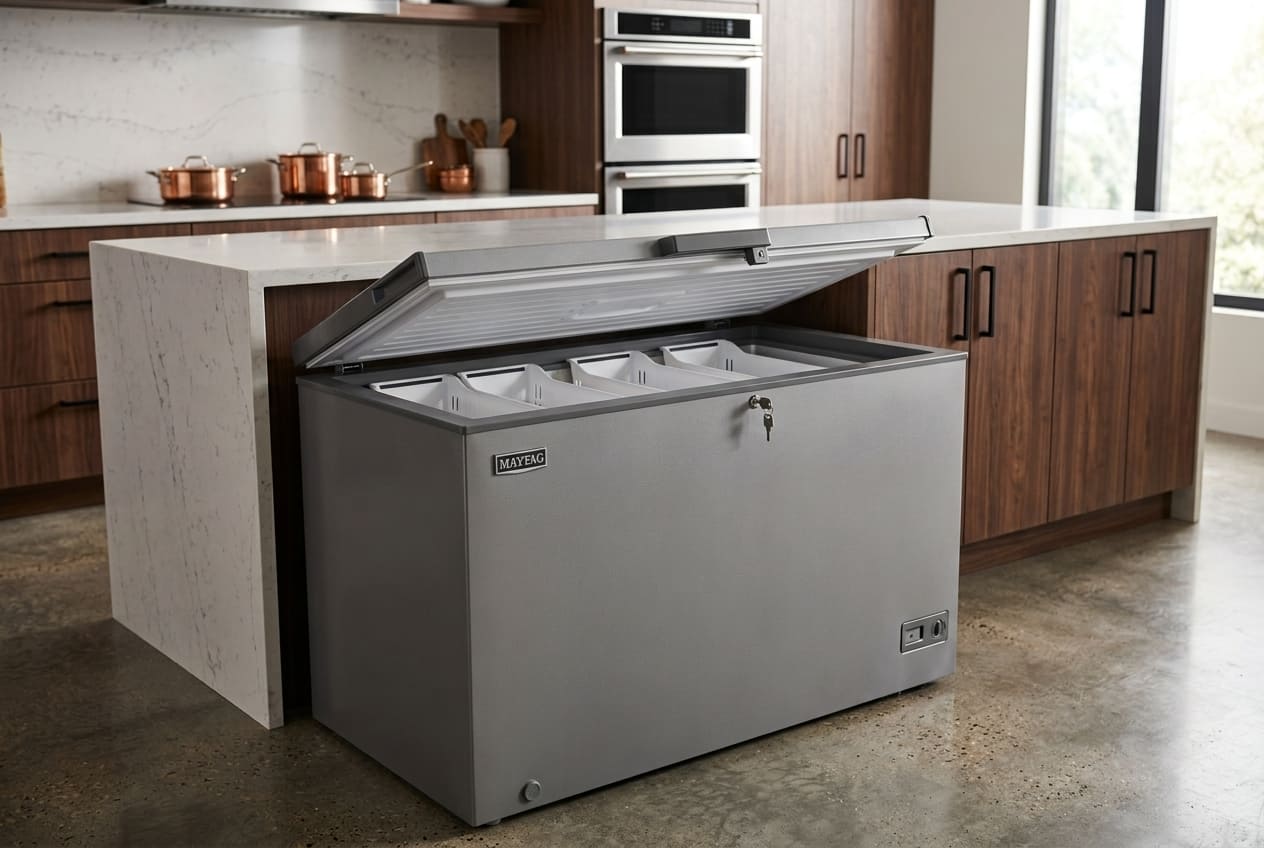
Same test, same dollar bill, same four positions along the lid perimeter. The key difference: gravity is working in your favor on a chest freezer. The lid’s weight pushes the seal down onto the cabinet rim on every cycle. A chest freezer lid that fails the dollar bill test despite gravity’s assistance is a seal that needs attention — it’s lost too much flexibility to maintain contact even with the lid pressing down on it.
On larger chest models like the MZCC4316TG, sight across the lid surface from one end while the lid is closed. Any visible bow or twist in the lid itself means the problem isn’t gasket deterioration alone — the lid has warped, and no gasket replacement will fully correct an uneven contact surface.
The Frost Line Test
Look at the interior perimeter of the door frame or lid opening. Where warm air enters, it deposits moisture. Where moisture deposits, it freezes. A strong, consistent seal leaves a clean frame — no frost or an even, minimal line. A failing seal leaves heavier frost deposits concentrated at the weak point.
Frost heavier on the left side of the door frame than the right: the left gasket is the problem. Frost in one corner: start there. The frost line is the seal marking its own failure location.
The Three Main Causes — Gasket, Leveling, Obstruction
The Door Gasket Has Worn Out
The door gasket is the flexible magnetic rubber seal running around the full perimeter of the door or lid. Two mechanisms keep it working: the rubber forms a physical barrier, and the magnet embedded in the seal pulls it toward the metal cabinet frame. When either mechanism degrades, the seal fails — and both degrade with age.
What healthy gasket rubber feels like: soft, pliable, flexible when bent between your fingers. What a gasket past its service life feels like: stiff, resistant to bending, and likely to show hairline cracks when flexed at the corners. The corners go first — they fold at a sharper angle than the straight sections and experience the most stress with every door opening and closing.
Before concluding the gasket needs replacement, clean it. Warm water and a mild dish soap applied with a soft cloth removes the sticky food residue that fools you into thinking the door is sealing when it isn’t. Residue can bond sections of the gasket to the frame, holding them slightly out of position without being visible. Remove it, dry the gasket completely, and run the dollar bill test again.
If the gasket is clean, soft, and still failing the test — the frame geometry is the problem, not the rubber. If the gasket is clean, stiff, cracked, or deformed — replacement is the right answer.
One important note on cleaning: petroleum-based products accelerate rubber degradation and damage the magnetic strip inside the gasket. Mild soap water only.
On Maytag upright models, the door gasket is retained by a retainer strip that runs under the inner door liner. Replacement requires sourcing the part specific to your model number — an off-size gasket creates uneven contact pressure that seals poorly even when new. Installation tension matters too: a retainer strip over-tightened in one section can bow the inner door liner, producing the kind of warping that looks like a door alignment problem but is actually an installation error. A professional replacement includes a full-perimeter seal test after installation.
The Freezer Isn't Level
Leveling is the first thing to check and the last thing most people think of. A Maytag upright Freezer tilted even slightly forward is a freezer whose door has to fight gravity on every swing closed. The leveling legs can compensate — but they’re rarely adjusted after the original installation, and floors settle.
For upright models: The unit needs to tilt slightly backward — front higher than rear by about a quarter inch. This gives the door a natural bias toward closed rather than open. To test the current state: open the door to 90 degrees and let go. It should swing slowly toward closed or hold position. If it drifts open, the front is too low. Adjust the front leveling legs and retest.
Also check side-to-side level with a carpenter’s level on the top panel. A unit tilted even a small amount left or right creates asymmetric contact between the door and the frame — the gasket compresses unevenly, holding on the low side and losing contact on the high side.
For chest Freezers: Full level on all four contact points. An unlevel chest Freezer creates a predictable gap on the high side — the lid contacts the cabinet rim at an angle, and no gasket pressure compensates for a frame that isn’t parallel to the lid resting on it. On uneven floors, anti-vibration rubber pads under the feet provide both leveling stability and compressor vibration damping without requiring constant leg readjustment.
Leveling costs nothing. Do it before ordering any parts.
Something Is Blocking the Door From Closing
The simplest cause on the list, and the one most often dismissed without being checked. In a Maytag upright Freezer, a shelf pushed slightly too far forward, a tall container that’s a fraction of an inch too high for its shelf position, or a bag draped over the front edge of an internal basket can all prevent the door from pressing fully against the gasket. The door closes. The light goes off. There’s still a three-millimeter gap somewhere along the door frame.
Work shelf by shelf from top to bottom. Pull every item back from the front edge of each shelf, confirm nothing is overhanging, and recheck the seal test. On chest Freezers, the equivalent is the internal storage baskets. A basket seated at an angle, reversed in its position, or resting slightly on the gasket lip rather than inside the cabinet perimeter prevents the lid from pressing down evenly. Lift each basket, reseat it correctly, close the lid, and test before moving on.
This takes five minutes. It occasionally turns out to be the whole problem.
When the Door or Lid Hinge Is Causing the Gap
A gasket and leveling check covers the majority of door seal problems. But on units with years of regular use, the hinge itself wears — and a door that doesn’t hang straight can’t seal evenly no matter how good the gasket is.
Upright Freezer Door Hinge Wear
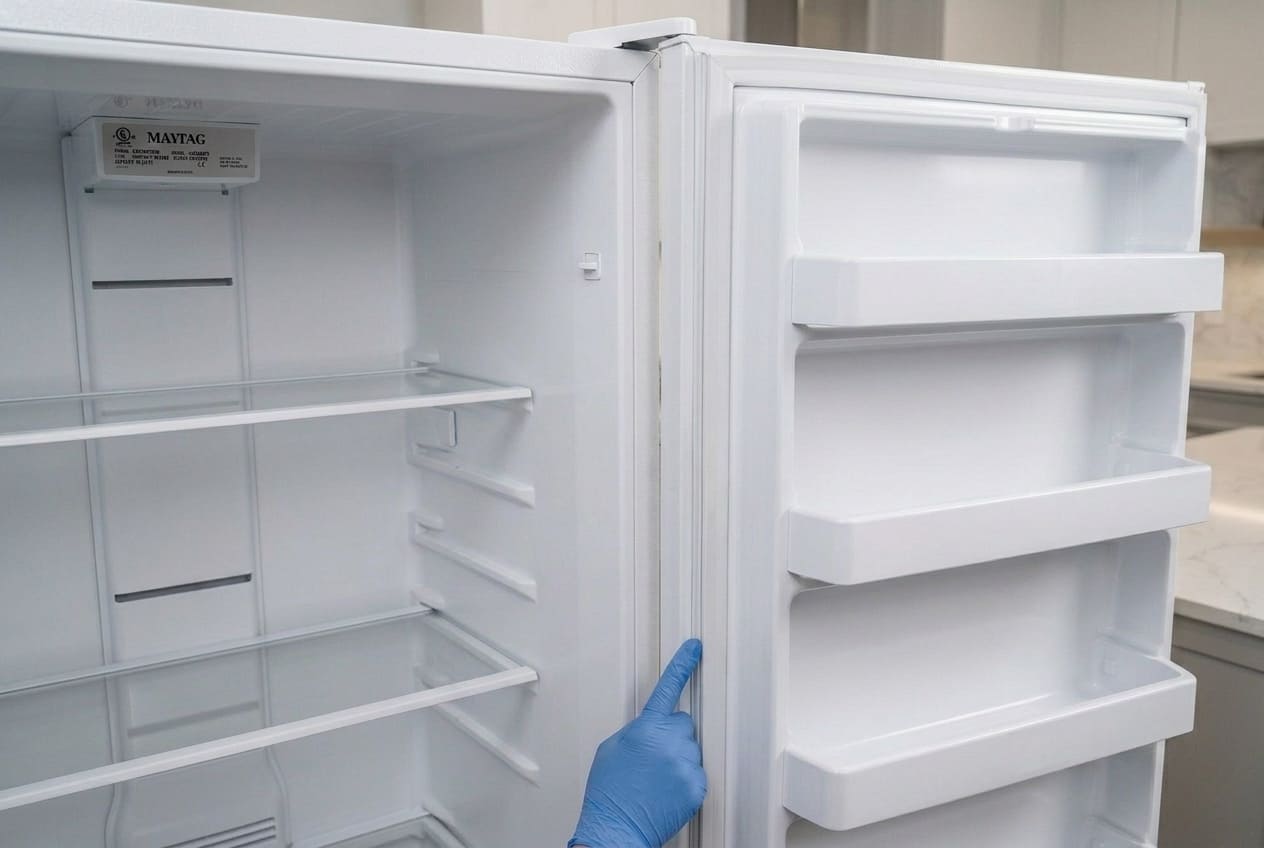
Maytag upright Freezer doors hang on two hinges — one at the top corner of the cabinet, one at the bottom. Over time, particularly on units that see frequent daily use, the door hinge pins and bearing surfaces develop play. The door drops slightly on the latch side. The gap this creates is consistent and predictable: tight along the hinge edge, open at the opposite corner — usually the top latch corner, sometimes the bottom, depending on which hinge has worn more.
Identifying hinge wear without tools: open the door fully and look at it straight on. A door with hinge wear doesn’t hang on a true vertical plane — it cocks slightly to one side, visible as a small angular offset at the handle end. A secondary check: with the door open, try lifting it gently by the handle. Any upward movement means the lower hinge pin has loosened.
Hinge adjustment or replacement on a Maytag upright Freezer involves removing the door panel. The doors on these units carry real weight — loaded shelves, insulated panels — and the hinge pins require precise realignment to restore a plumb swing and consistent pressure around the full gasket perimeter. This is not a straightforward DIY task.
Chest Freezer Lid Hinge Integrity
Chest Freezer lid hinges are simpler — a pair of hinges at the rear connect the lid to the cabinet body — but they wear under the sustained load of a heavy lid opening and closing repeatedly. On larger models, the hinge fasteners take more cumulative stress than on compact units.
Before assuming the hinge mechanism itself has failed, check the fasteners. A loose hinge screw on a chest Freezer is a two-minute repair with a screwdriver. Tighten everything, check the lid alignment — it should sit flush against the cabinet rim all the way around — and test again. If fasteners are tight and the lid still doesn’t sit flush, the hinge has worn past the point where tightening helps.
Prevention — Keeping the Seal Working for Years
Fixing the seal is one repair. Keeping it working is a maintenance habit, and it takes less time than most people expect.
Monthly Gasket Cleaning
During regular Freezer cleanouts — reorganizing contents, wiping down shelves — run a damp cloth along the full gasket perimeter. This removes the sticky residue that is the earliest stage of gasket degradation, and it doubles as a 60-second visual inspection for cracking or stiffening that’s easier to catch early than after a failure.
A gasket caught while it’s beginning to harden can often get another year of service with regular cleaning and flexibility monitoring. A gasket discovered already cracked and brittle during a food loss event needs emergency replacement.
Load the Door Correctly
Maytag upright Freezer doors are designed to carry their own shelf contents — not to serve as a leaning post or balance point. Using the door handle for support while reaching into the upper shelves puts asymmetric downward load on the upper hinge with every use. Check the door hinge fasteners and leveling legs once a year and tighten anything that has shifted. It takes five minutes.
Cool Food Before Freezing
Placing hot food directly into the Freezer generates a concentrated condensation burst on the gasket and frame interior on every occurrence. Repeated across years of daily use, this moisture exposure softens the gasket’s rubber compound and promotes mold growth in the seal groove — the folded channel where the rubber meets the inner door liner. Let hot items reach room temperature first. The compressor runs less hard, and the gasket stays healthier longer.
Re-Level After Any Move
Any time a Maytag upright or chest Freezer is relocated — moved for floor cleaning, shifted to a different room, transported to a new home — re-level it and run the dollar bill test before reloading it. Moving puts stress along the full gasket perimeter and can shift the cabinet frame enough to change how the door contacts it. Five minutes of post-move leveling prevents the slow compressor overwork cycle that follows a unit that’s been running slightly off-level from that point forward.
Conclusion
The door seal is the least expensive item in the chain of components that keeps a Maytag standalone Freezer running. The compressor it protects is the most expensive. The math on fixing a failing gasket promptly is straightforward — and so is the alternative.
A compressor running overtime against continuous warm-air infiltration isn’t just costing money on the electric bill. It’s accumulating run hours at an accelerated rate, running warmer than it was designed to, and aging faster than the unit’s service life anticipates. The maintenance habits in Section 4 slow that process down considerably. The three-minute test in Section 1 tells you whether you have a problem at all.
For Maytag upright or chest Freezer door seal repair anywhere in Atlanta or Metro Georgia, Appliance Repair Master sources the correct model-specific part, installs it correctly, and confirms the seal holds before the job is done.
FAQ
1. How much does a poorly sealing freezer door affect my energy bill?
A compromised door gasket forces the compressor to run more frequently and for longer per cycle to compensate for steady warm-air infiltration. Appliance efficiency data suggests a poorly sealing door can increase compressor run time by 20–50% depending on gap severity and ambient temperature. In Atlanta’s humid summers, that percentage trends toward the higher end — warm, moisture-laden air carries more heat load per cubic foot than dry air. The energy savings from a proper repair typically offset the repair cost within the first year.
2. Does Atlanta's summer heat make Maytag Freezer door seal problems worse?
Yes, in two specific ways. Atlanta’s summer humidity means infiltrating air carries significantly more moisture, accelerating frost accumulation inside and increasing the compressor’s workload. And gasket material expands and contracts with ambient temperature — Freezers in Atlanta garages or storage areas experience a swing of 80°F or more between seasons, which stresses the rubber along the fold lines and corners far more than a climate-controlled kitchen does. Gaskets in those environments often reach end-of-life sooner than the standard 5–10 year range.
3. My Maytag upright Freezer door swings open on its own sometimes. Is that a seal problem or a leveling problem?
Almost always leveling. When the cabinet tilts slightly forward, the door’s weight overcomes the magnetic closure and the door drifts open. Raise the front leveling legs until the unit tilts slightly backward — the door should swing toward closed when released at 90 degrees. If it still pops open after correct leveling, the gasket’s magnetic strip has weakened with age, or the door hinge has worn enough to change how the door contacts the frame on closing.
4. Is a chest Freezer lid seal problem different to fix than an upright Freezer door seal problem?
The diagnosis steps are similar — dollar bill test, frost line, leveling — but the access and failure modes differ. Chest Freezer lids seal horizontally against the cabinet rim with gravity assisting contact, so they’re less prone to hinge-related alignment issues. The unique failure mode on chest models is lid warping, more common on larger units like the MZCC4316TG, which a gasket replacement alone can’t fix. Upright Freezer doors are more susceptible to hinge wear causing asymmetric gaps at one corner — something chest lids don’t experience the same way.
5. How do I know if a poor door seal is already damaging my Maytag freezer's compressor?
The sign is a compressor that runs nearly continuously without the interior reaching its set temperature. If your Maytag Freezer consistently holds 5–10°F warmer than the dial setting despite constant running — and the dollar bill test confirms a gap — the compressor is working nonstop against warm-air infiltration it can never fully overcome. If you’re also [noticing the compressor making more noise than usual], that’s secondary confirmation the motor is under sustained elevated load. Getting the seal repaired stops that cycle before it shortens compressor life further.
6. Can I temporarily fix a Maytag Freezer door seal while waiting for a repair appointment?
For a gasket that has stiffened in cold temperatures, briefly warming the rubber with a hair dryer set on low can temporarily restore enough flexibility to improve contact. This is a short-term measure only — it won’t repair a crack, restore a depleted magnetic strip, or correct structural deformation. For a chest Freezer lid in the interim, placing a light, even weight across the top can help maintain contact pressure while a repair is scheduled. Neither approach is a substitute for a model-correct replacement gasket installed with proper tension.